How to Create a Timeless Checkerboard Floor with Paint
Because a little paint and patience can turn any room into a work of art.
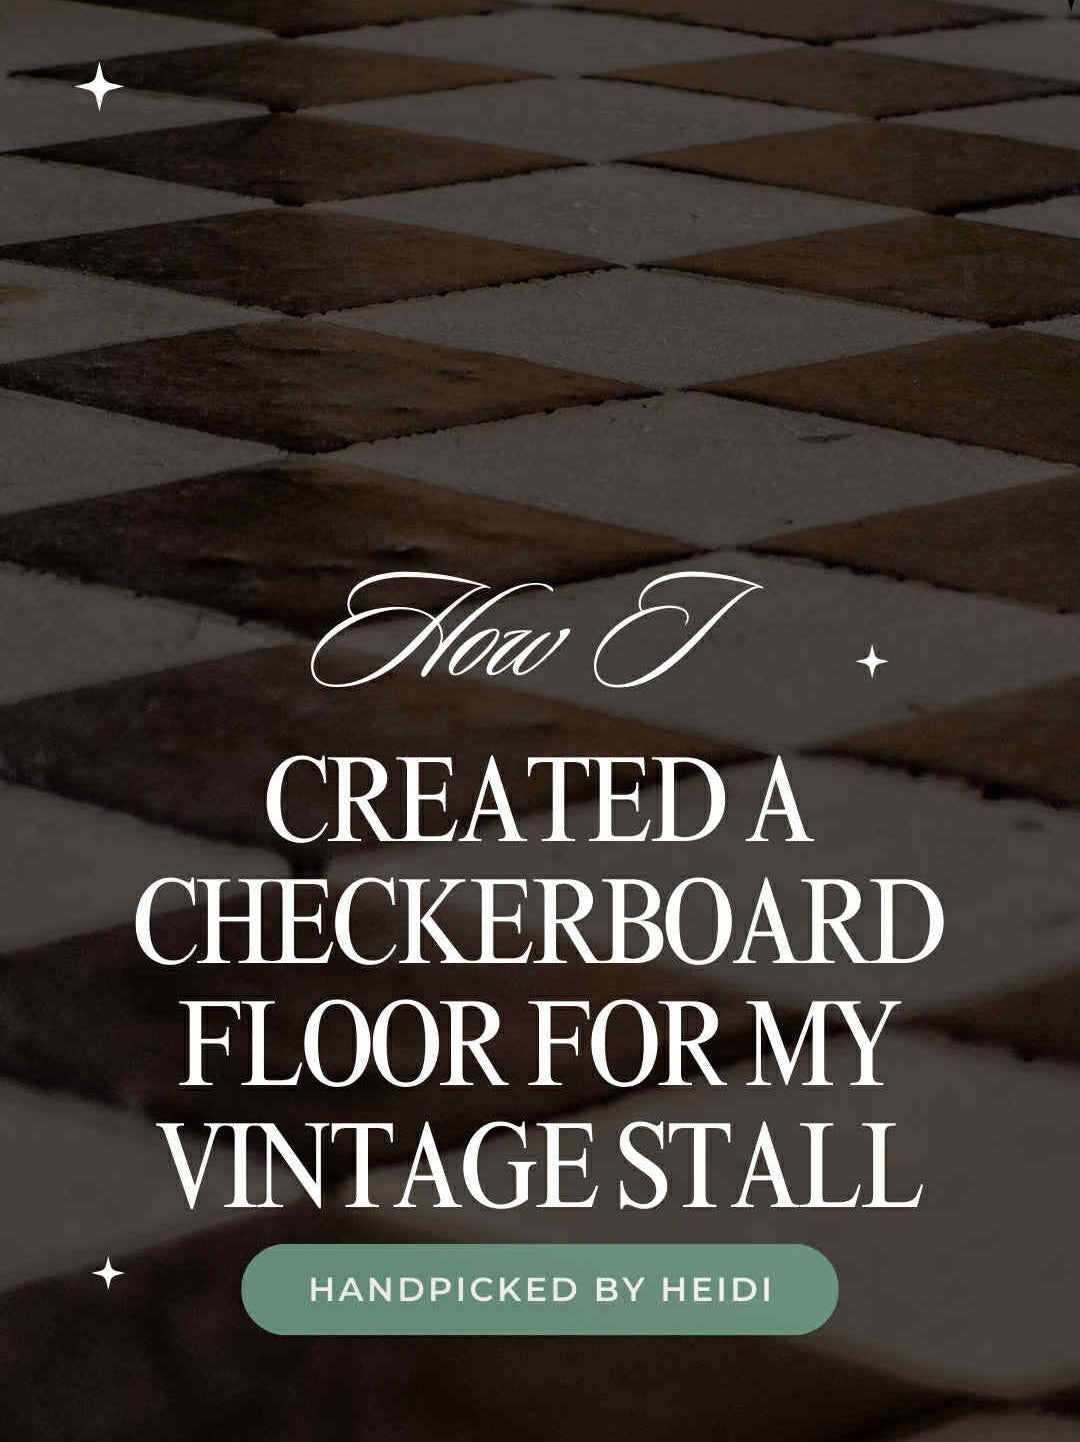
There’s something undeniably charming about a checkerboard floor. It’s timeless. A touch French country, a bit Old World villa, and entirely fresh when done right. Best of all? You don’t need marble to get the look. Just paint, tape, and a good eye for symmetry.
When I got my very first space at STARS Antique Market, this project became personal.
I had shopped STARS for years before finally carving out a corner of my own upstairs. The floors were dark wood—beautiful but worn in certain spots. Honestly? I loved the wear. It told stories. But I needed a way to define my space without spending a fortune, and I wanted something bold, elevated, and timeless.
So I decided to paint a checkerboard floor right over the existing wood—but not completely. I let the wear peek through. The checkerboard became my way to honor the past while refreshing the space with a strong visual statement.
Here’s how I did it—and how you can too.
 What You’ll Need:
-
Painter’s tape (the wider, the better — I recommend Scotch Delicate Surface purple tape)
-
Benjamin Moore Fresh Start Floor & Patio Primer
-
Benjamin Moore Floor & Patio Low Sheen Enamel (in white)
-
Benjamin Moore Stays Clear Polyurethane – Low Lustre
-
Foam board or cardboard to make a square template
-
Chalk or pencil
-
Rough surface foam rollers
-
Angled paint brush
-
Telescoping roller extension pole
-
A little patience and maybe a podcast
 Step 1: Create a Vision
For me, it started with a feeling: I wanted the space to feel curated, clean, and rich—without erasing the age and character of the floor. Instead of fully covering it, I chose to let some of the original wood show through.
Checkerboard was the perfect solution.
 Step 2: Map Out Your Grid
I made my own 12” x 12” square using a piece of cut foam board, then traced the pattern out in chalk directly on the floor. Starting from the center, I carefully lined up each square, checking and double-checking the pattern.
Tip: Use a square ruler or laser level to make sure your lines are straight—especially if your room isn’t.
 Step 3: Tape & Prime
Once the squares were mapped, I taped off every other square, pressing the tape down firmly and making sure the lines matched up perfectly.
 Pro Tip: I used Scotch Delicate Surface Painter’s Tape (Purple)—it’s gentle on wood and peels up cleaner than standard blue tape, especially if your base surface has wear or patina you want to preserve.
Then I rolled on a coat of primer over the taped squares only.
Step 4: Paint
After the primer dried, I painted those same squares with Benjamin Moore white floor paint—just one crisp, clean color to contrast the worn wood beneath. I let it cure for two full days, then slowly removed the tape.
Even without the second color, the effect was instantly beautiful. The contrast of old and new, matte white and weathered brown—it created the exact feeling I hoped for.
 Step 5: Seal the Deal
Because I knew the STARS floor would get high foot traffic, I rolled on a clear coat of Benjamin Moore polyurethaneto seal the paint and give the whole floor a soft shine.
That was months ago—and I’m happy to report: it’s held up beautifully.
 Why I Love This Project
Checkerboard floors tell a story. They elevate a space without overpowering it. They can be regal or rustic, depending on your colors and finish. And when done by hand, they have that just-right imperfection that makes them feel authentic.
For anyone with a tired floor and a creative itch—this project is affordable, transformative, and completely rewarding.
 Where It Works Best:
-
Entryways and mudrooms
-
Sunrooms
-
Under vintage dining tables
-
Antique booths or market spaces
-
Garden sheds, studios, or anywhere you need a little magic
 Final Thoughts
This floor marked the beginning of something special for me—a fresh chapter in a place I’ve loved for years. It reminded me that you don’t always need to replace the old—sometimes, you just need to reframe it.
If you're dreaming of defining your own space with style and soul, this might just be your sign.
 Checkerboard Floor DIY Supply Checklist
As used in my STARS Antique Market space
Paint & Finish
-
Benjamin Moore Fresh Start Floor & Patio Primer
-
Benjamin Moore Floor & Patio Low Sheen Enamel – White
-
Benjamin Moore Stays Clear Polyurethane – Low Lustre
Available at local Benjamin Moore retailers or benjaminmoore.com
 Tools & Tape
-
Rough Surface Foam Rollers – 4" or 9" (search based on surface size)
-
Angled Paint Brush (for clean corners)
Happy painting,
Heidi
Hand-Picked by Heidi


Leave a comment
This site is protected by hCaptcha and the hCaptcha Privacy Policy and Terms of Service apply.